
Furniture Online
Remodelling your kitchen: The online furniture store guide of how to

Jun
Remodelling your kitchen:
No matter the cost or inconvenience, most of us will likely need to remodel our kitchens at least once every decade. Whether it is to change up styles, repair water damage, or move into a new home, kitchen remodelling can be a real schlep if you are unsure where to start. To help you on your way, in just a few minutes of reading, we at 5Star Furniture, your trusted online furniture store, have devised a step-by-step guide on how to remodel your kitchen while keeping costs down while you do so.

What does an online furniture store have to do with remodelling your kitchen?
While your trusted online furniture store cannot physically aid you in your efforts to remodel your kitchen, it certainly can help you by providing affordable furniture and appliances that you may need in the process. Your online furniture store offers high-quality pieces, such as stools for your kitchen island, kitchenware, and shelves and storage units, to upgrade your kitchen and make it look its best after the remodelling process.
Shopping through an online store such as 5Star Furniture is a great way to cut costs, which can be especially helpful, as remodelling of any kind can really make its mark on the wallet. Perusing the stock on an online furniture store’s webpage before or during your remodelling process can also help you shape your design and provide a small blueprint for the look you are aiming to achieve in your kitchen.
Step 1: Tear out and demolish
The first step in your kitchen remodelling process is often the scariest. The thought of destroying a space that has provided you and your family with years of memories is always daunting. Alternatively, if you are thinking of remodelling a kitchen in a new home, the cost factor is an even scarier thought. However, keeping the end goal in mind and trusting in the process is necessary should you wish the entire procedure to go smoothly.
Time to rip out anything and everything you no longer want, including flooring, walls, fixtures, cabinets, and more. While some homeowners do not wish to oversee or execute this phase themselves, and understandably so, there are some of us who both have the time and wish to cut down on costs by avoiding hiring professionals for the entire process. If this is the case, grab your hammers and axes, and get ready for a mess. But before you start tearing anything apart, it is of the utmost importance that you turn off the entire water system in your kitchen and have a dedicated refuse spot for general debris.
Step 2: Rough-In Work
In-running systems to create framing and plumbing. By this, we mean it may be necessary to frame your new wall, whatever material it may be made of, as well. In-running systems run through them effectively; in many cases, you will have planned a new spot for a sink or washing machine, meaning that you need specific water outlets in place. This step can be daunting even for the most experienced DIY handy-person. You should allot a considerable amount of time to this step, however, as it is highly time-consuming and may require much more work than you expected.
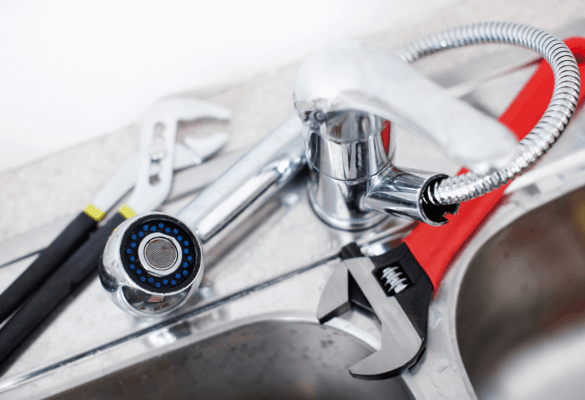
Step 3 of the online furniture store remodelling guide: a professional opinion
Even though you may have decided to execute this project on your own and on your own terms, once your framework and plumbing system are updated and in place, it is always a good idea to have a professional take a look and help you identify any major faults that you may have missed. Seeking a consultation from a professional is much cheaper. It can even save you more money in the long run if your chosen professional identifies a fault that would require you to rip out fixtures and install new ones. Once you get approval, you can rest easy and continue your project without the looming possibility of disaster when you turn your water system back on for good.
Step 4: Finish the walls
Once you have the go-ahead from an experienced professional, you can begin working on your walls. Whatever material you use for your walls, it is important to conduct extensive research and practice working with it if you are executing this phase on your own. It will ensure that your batches of building material are sturdy and durable. This phase also includes installing countertops or kitchen islands.

Further, whatever your go-to material for your walls is, you must either prime it or select the most appropriate paint or tile for your kitchen. While paint is certainly the easier option, moisture from cooking or any spillages will, over the years, require a repaint. Tiles, on the other hand, will require a deep clean to look as good as new. If you do decide to go with paint, know that different colours hold significance and psychological impacts on the people in your home.
When it comes to kitchen colours, greens, yellows, blues, reds, whites, and greys shine out. All of the mentioned shades have different effects on the space. Warmer colours such as yellows and reds are said to stimulate the appetite, which naturally comes in handy for a kitchen space. Red is an extremely versatile colour and can make your kitchen pop out as an inviting space in your home.
White shades can energise a room – and because the kitchen is usually the first place we go when we wake up, a white space can really help you feel fresher and invigorated early in the morning. White shades also catch and reflect light beautifully, making almost every space feel larger than it is.
Step 5: Install windows and doors
Naturally, you will have left carefully measured out spaces in your walls for windows and doors. If you have not touched the two fixtures above during your remodelling process, you can skip this step. However, now is as good a time as any to give your existing windows and doors a deep clean.
When installing windows in particular, think carefully about their location beforehand. The position of a window in a kitchen can have different effects on the space. Ask yourself the following question: Do I want morning light or afternoon light? Do I want a view for when I’m washing dishes?
Step 6: Plumbing fixtures and cabinets
Next up in the online furniture store kitchen remodel guide is installing cabinets. And tl the plumbing fixtures like the sinks, taps, etc. The end is in sight! Consider purchasing your kitchen cabinets from a reliable online furniture store, such as 5Star Furniture. Once you have installed the new ones, test your water to ensure everything is in working order before you continue.
Make sure to let the water run for some time to expose any leaks. Further, test out both the hot and cold functions.

A kitchen island – should you do it? Kitchen islands have recently become the new craze, and understandably so. The island offers more counter space and a focal point for your kitchen. Some pros of a kitchen island include:
- It creates a defined space, should you have an open-concept home
- Offers storage space for additional kitchenware and appliances
- Becomes the heart of the kitchen
On the other hand, a kitchen island can also pose some issues for many kitchens, such as:
- Disruption in the flow of a space hinders free movement.
- Extra wiring and plumbing efforts for appliances on the island.
- Making the space smaller and appearing cramped.
- Re-examine the available space to determine whether a kitchen island is viable.
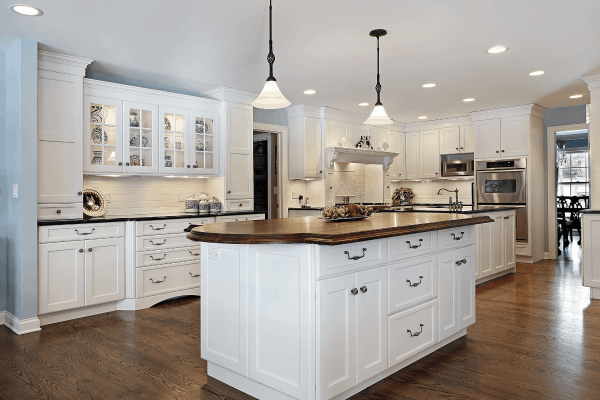
Step 7: time for new appliances
Possibly the most exciting step in the entire process is that of bringing in new appliances. Microwaves, stovetops and kettles are among the items on the list you will add to your new and improved space. You need not replace everything, however, as this could be costly. Try not to get carried away when you go appliance shopping, however.
You should aim to stick to the same aesthetic for appliances. If you are going for a “farmhouse” look, this should not be a concern. At this point in your remodelling journey, your kitchen space should be starting to look like your dream come true!

Step 8: time for new flooring
It is now time to cover up that ugly, bare-looking floor you have been stepping over while remodelling your kitchen. Some people prefer tiling while others prefer a simple linoleum or concrete floor. Whichever you choose, ensure that it gels with your overall aesthetic and suits your needs. When it comes to tiling, larger tiles are better. Cleaning fewer grooves and lines will be easier, and less dirt will get lodged in the tight spaces.
If you choose wood, you need to be very careful with how you prime and seal it. Water damage can be absolutely disastrous for a wooden kitchen floor.
Step 9: Celebrate!
Now is the time to celebrate your new kitchen! All your hard work has finally paid off. Crack open a bottle of champagne and celebrate your new and improved space.
